Featured
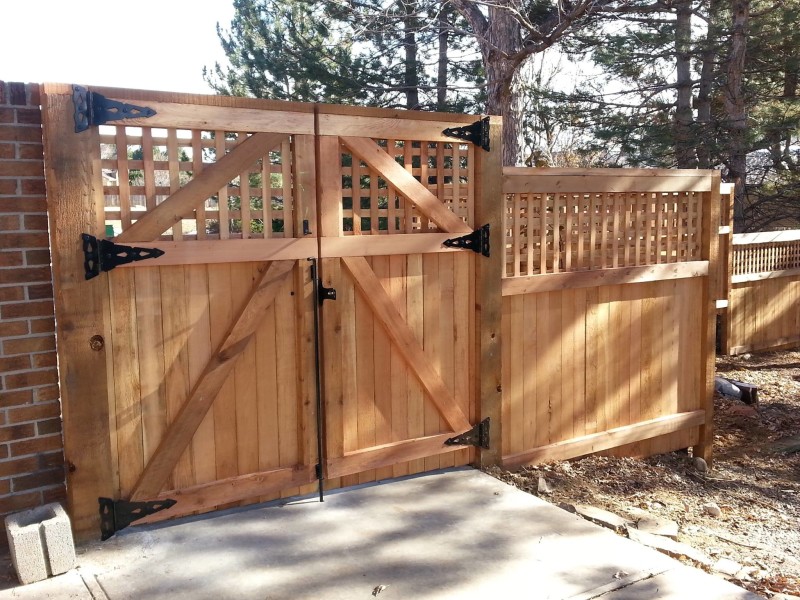
A leaning or damaged fence message can endanger the stability and appearance of your whole fence. Fortunately, with the right devices and techniques, you can resolve this problem successfully and recover your fence's capability. Right here's a step-by-step overview to assist you repair a leaning or harmed fence post.
Prior to beginning any type of repair work, review the problem of the fencing message to establish the root cause of the issue. A blog post may lean because of:
Loose soil around the base
Rot or degeneration in wooden messages
Damage from effect or climate
Determining the origin will certainly lead you in selecting the ideal repair technique.
For a lot of fixings, you'll need the complying with:
![]()
Shovel or message opening miner
Degree
Pierce or hammer
Replacement blog post (if needed)
Concrete mix or crushed rock
Nails or screws
Wooden risks and string
Having these things accessible will certainly make the process smoother and extra reliable.
If the blog post is still structurally sound yet leaning, comply with these steps:
Loosen Up the Soil: Dig around the base of the article to loosen up the soil.
Correct The Alignment Of the Post: Make use of a degree to ensure the post is upright. Enlist an assistant to hold the post constant.
Strengthen the Base: Load the hole with a mix of crushed rock and concrete for added security. Tamp down the gravel or concrete to remove air pockets and protect the blog post in position.
Allow it Set: Enable the concrete to treat for at the very least 24-48 hours before using any kind of stress and anxiety to the blog post.
If the blog post is rotten or severely harmed, substitute may be essential:
![]()
Remove the Old Blog Post: Dig around the base and take out the harmed article, including any kind of concrete ground.
Prepare the Opening: Clear out debris and ensure the opening is deep enough for the new article (commonly one-third of the article's size)
Set Up the New Message: Position the new post in the red, ensuring it is level and lined up with the rest of the fencing. Use wooden risks and string to keep placement.
Protected with Concrete: Pour concrete right into the hole, ensuring it loads all gaps. Let it cure prior to reattaching fencing panels or rails.
To prevent future troubles, take these safety nets:
Usage pressure-treated timber or rot-resistant materials for blog posts.
Use a protective sealer to wood blog posts to safeguard against wetness.
Make sure appropriate drainage around blog posts to avoid water pooling.
Examine your fence consistently for indicators of damage.
Final Thoughts
![]()
Repairing a leaning or harmed fence blog post doesn't need to be a challenging job. By complying with these steps, you can recover your fence's stability and expand its lifespan. With regular upkeep and prompt fixings, your fence will proceed to boost your residential property's capability and aesthetic charm for several years ahead.
- Analyze the Damage
Prior to beginning any type of repair work, review the problem of the fencing message to establish the root cause of the issue. A blog post may lean because of:
Loose soil around the base
Rot or degeneration in wooden messages
Damage from effect or climate
Determining the origin will certainly lead you in selecting the ideal repair technique.
- Gather Necessary Tools and Materials
For a lot of fixings, you'll need the complying with:

Shovel or message opening miner
Degree
Pierce or hammer
Replacement blog post (if needed)
Concrete mix or crushed rock
Nails or screws
Wooden risks and string
Having these things accessible will certainly make the process smoother and extra reliable.
- Correct The Alignment Of a Leaning Post
If the blog post is still structurally sound yet leaning, comply with these steps:
Loosen Up the Soil: Dig around the base of the article to loosen up the soil.
Correct The Alignment Of the Post: Make use of a degree to ensure the post is upright. Enlist an assistant to hold the post constant.
Strengthen the Base: Load the hole with a mix of crushed rock and concrete for added security. Tamp down the gravel or concrete to remove air pockets and protect the blog post in position.
Allow it Set: Enable the concrete to treat for at the very least 24-48 hours before using any kind of stress and anxiety to the blog post.
- Replace a Damaged Post
If the blog post is rotten or severely harmed, substitute may be essential:
Remove the Old Blog Post: Dig around the base and take out the harmed article, including any kind of concrete ground.
Prepare the Opening: Clear out debris and ensure the opening is deep enough for the new article (commonly one-third of the article's size)
Set Up the New Message: Position the new post in the red, ensuring it is level and lined up with the rest of the fencing. Use wooden risks and string to keep placement.
Protected with Concrete: Pour concrete right into the hole, ensuring it loads all gaps. Let it cure prior to reattaching fencing panels or rails.
- Protect Against Future Issues
To prevent future troubles, take these safety nets:
Usage pressure-treated timber or rot-resistant materials for blog posts.
Use a protective sealer to wood blog posts to safeguard against wetness.
Make sure appropriate drainage around blog posts to avoid water pooling.
Examine your fence consistently for indicators of damage.
Final Thoughts

Repairing a leaning or harmed fence blog post doesn't need to be a challenging job. By complying with these steps, you can recover your fence's stability and expand its lifespan. With regular upkeep and prompt fixings, your fence will proceed to boost your residential property's capability and aesthetic charm for several years ahead.
Latest Posts
Check Out Best Car Repair Care in Chicago – Drive with Confidence
Published May 28, 25
1 min read
Discover Cut Costs on Car Maintenance with Montclare Auto Repair’s Exclusive Deals
Published May 22, 25
1 min read
Meet Premier Retina Specialists in Your Area with Eye Center South
Published May 21, 25
1 min read
More
Latest Posts
Check Out Best Car Repair Care in Chicago – Drive with Confidence
Published May 28, 25
1 min read
Discover Cut Costs on Car Maintenance with Montclare Auto Repair’s Exclusive Deals
Published May 22, 25
1 min read
Meet Premier Retina Specialists in Your Area with Eye Center South
Published May 21, 25
1 min read